Introduction: The Reality of a Compromised WordPress Site
If you've noticed strange redirects, sudden spikes in server CPU usage, or a terrifying "This site may be hacked" warning in Google Search Results, you are likely the victim of a malware infection. Removing malware from WordPress isn't just about deleting a suspicious file; it's about identifying the entry point (the root cause) and removing persistence mechanisms.
This authoritative guide covers real-world incident response procedures, referencing active threat patterns and providing actionable shell commands to recover your site.
Need immediate help?
If your site is currently hacked or showing warnings, our incident response team can help right now.
Step 1: Incident Containment
Before you begin removal, you must stop the bleeding. A hacked site can infect visitors with ransomware or redirect them to phishing pages, which destroys your SEO and brand reputation.
- Take the site offline: Place a
.maintenancefile in your root directory. - Isolate the environment: If you are on a VPS, isolate the container. Do not log into your wp-admin panel until you have changed your database passwords.
- Backup the infected state: Always take a forensic backup before cleaning. You may need to analyze it later to find the initial vector.
Step 2: Identifying the Payload (AST vs Regex)
Modern malware uses extreme obfuscation. As an example, the prevalent WP-VCD malware campaign injects payloads directly into core files using base64 encoding and string reversal.
Upgrade to Nexura Pro
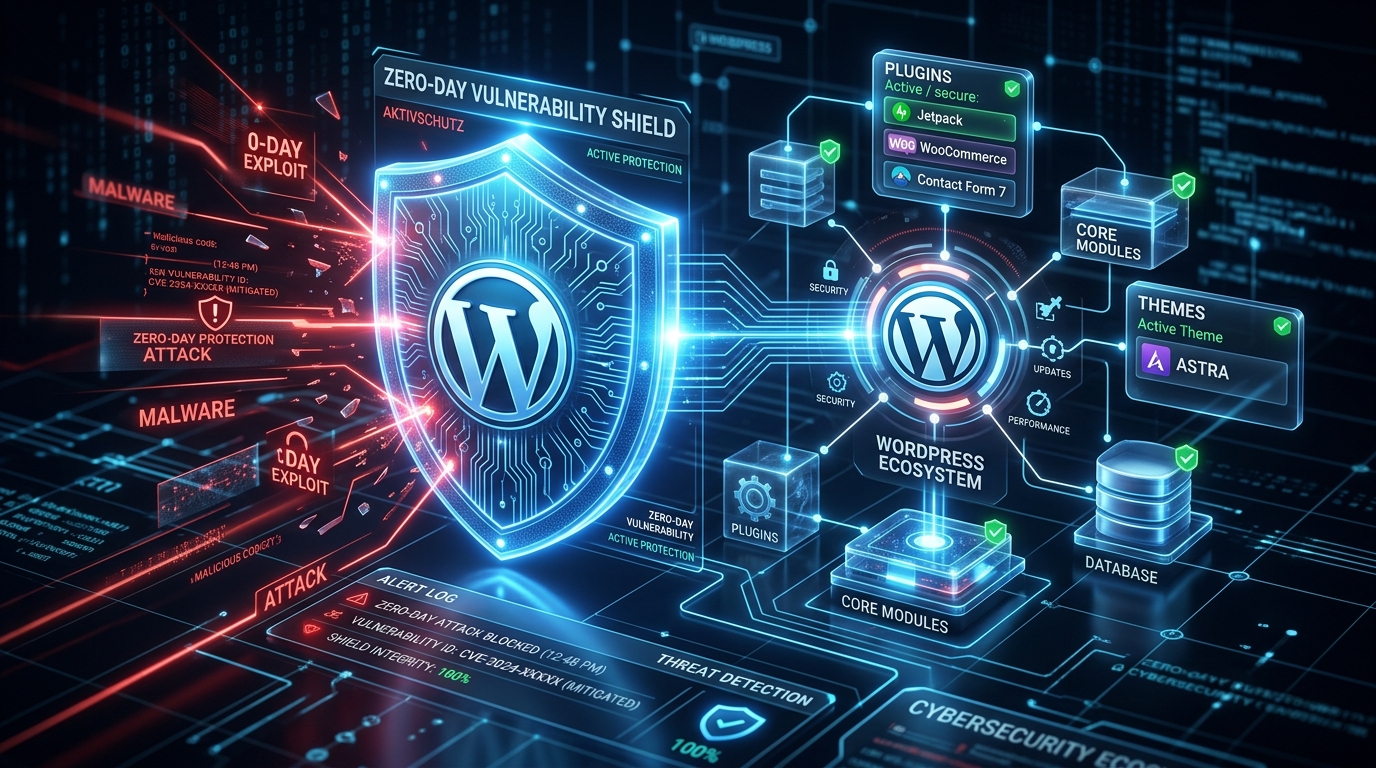
Get enterprise-grade protection. Block zero-day exploits, advanced malware, and brute-force attacks instantly.
// Common Obfuscated Payload Pattern
$func = str_rot13('riny');
$func(base64_decode('...malicious_payload...'));
You cannot rely on simple grep commands to find these. You must use a tokenizer-based scanner that parses the PHP Abstract Syntax Tree (AST). The Nexura Security Malware Scanner is built exactly for this purpose, understanding the code structure rather than just looking for static strings.
Step 3: Core File Verification
The easiest way to clean core files is to completely replace them. Do not overwrite your wp-config.php or wp-content directory!
- Download a fresh copy of your exact WordPress version from WordPress.org.
- Delete the
wp-adminandwp-includesdirectories on your server. - Upload the fresh
wp-adminandwp-includesdirectories. - Replace all files in the root directory (like
index.php,wp-login.php) EXCEPTwp-config.php.
Step 4: Database Cleanup
Malware often establishes persistence by injecting rogue admin users or malicious JavaScript into the wp_options or wp_posts tables. Run the following SQL query to check for hidden admins:
-- SQL: Find suspicious admin users
SELECT * FROM wp_users
INNER JOIN wp_usermeta ON wp_users.ID = wp_usermeta.user_id
WHERE meta_key = 'wp_capabilities' AND meta_value LIKE '%administrator%';
If you see users you didn't create, delete them immediately.
Step 5: Finding the Root Cause (CVE Analysis)
If you clean your site but don't patch the hole, you will be hacked again within 24 hours. Check your access logs (/var/log/nginx/access.log) for the time the infection started.
Often, infections stem from known vulnerabilities (N-Days). For example, CVE-2023-4512 in a popular page builder allowed unauthenticated file uploads. Always reference the WPScan Vulnerability Database to see if your active plugins have known flaws.
Conclusion
Manual malware removal is grueling and error-prone. To automate this process and prevent future infections, deploy a comprehensive Web Application Firewall (WAF). Read our Ultimate WordPress Security Guide to learn how to lock down your server permanently.
About the Author: Nexura Security Research Team. We research WordPress malware, vulnerabilities, WAF protection and website security to provide practical security guidance for WordPress site owners. Updated: August 2026.